A crypto wallet is a secure digital place where you can keep your crypto and NFTs. There are a number of wallets to choose from, with varied levels of security and blockchain compatibility.
The first step in setting up your crypto wallet is to choose what kind you want. Then, it’s a matter of downloading it, setting up the account, and making your first crypto deposit.
Ahead, let’s review the steps of how to set up a crypto wallet.
A guide to setting up your first crypto wallet
Step 1: Think about your overall crypto strategy
As a crypto investor, you’ll first want to think through how much crypto you want to buy, hold, trade, and use. This will determine how many and what kind of wallets you should keep.
As a general rule, financial planners argue that the average person should only hold up to 10% of their overall investment portfolio in crypto, with some saying that 5% is enough.
Once you determine how much crypto you want to keep in your portfolio, think about how you want to use it. Do you want to keep just enough crypto on hand to buy NFTs? Or do you plan on doing advanced DeFi trades? Or maybe you plan to hang out in the metaverse and need a compatible wallet with popular worlds like Decentraland and The Sandbox.
If you’re a HODLer (aka you plan to buy and hold your crypto), your biggest focus should be on security, whereas those who plan to swap, trade, stake, and lend their crypto will need a wallet that can easily connect to different decentralized apps (dApps) on the internet.
Also consider which of the 20,000+ cryptos you plan to use most regularly. Most common are BTC and ETH, but several blockchain-specific wallet options exist that allow easy bridging from a different chain. For instance, the popular developer-friendly blockchain, NEAR, has its own NEAR Wallet.
Step 2: Choose a wallet
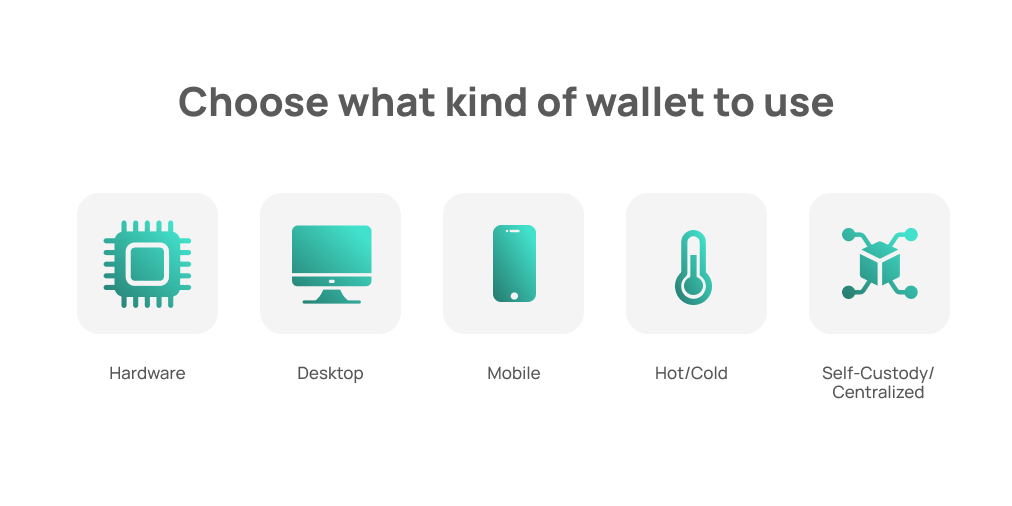
There are many types of crypto wallets, each with their own features and use cases. The loose categories include hardware wallets, desktop wallets, mobile wallets, hot wallets, cold wallets, self-custody wallets, and centralized wallets.
However, there is some overlap in these categories — so let’s explain.
Hardware wallets
Hardware wallets are also called cold wallets. Popular hardware wallets include Ledger and Trezor and look almost like a USB thumb drive that you plug into your computer. These wallets are often considered the safest way to store your cryptocurrencies. They allow you to use a private seed phrase to access your crypto entirely offline, without having to be connected to WiFi or a centralized exchange.
Desktop wallets
Desktop wallets can either be hot or cold. This category simply means that a wallet can be managed through a desktop app (often in addition to a browser extension).
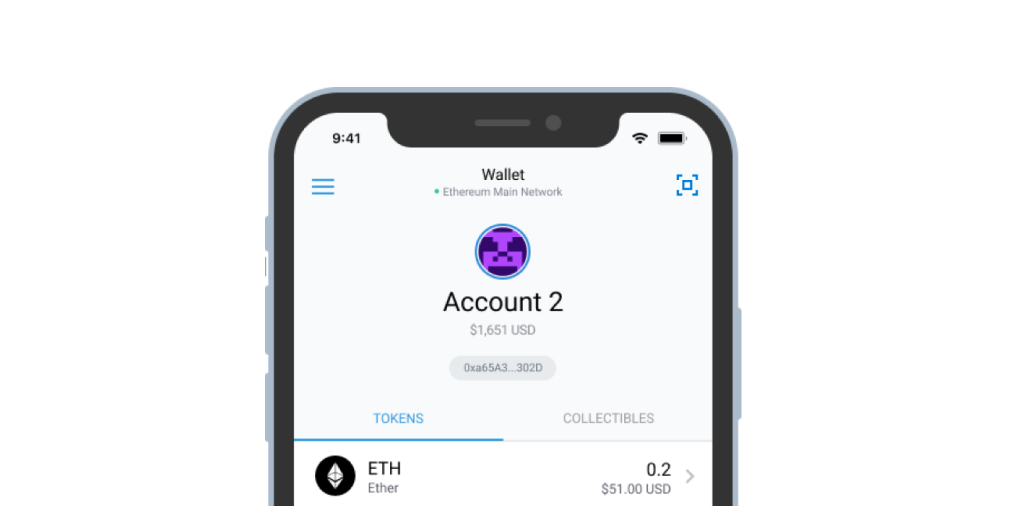
Mobile wallets
Mobile wallets are those which users manage through a mobile app. Some wallets, such as Exodus, have both a desktop app and a mobile app. MetaMask, on the other hand, is a mobile wallet that also has a browser extension.
Hot/cold wallets
This category is simply a way to refer to wallets that must be connected to the internet or WiFi to work (hot wallets), or let you access your crypto on your device without being connected to the net (cold wallets). Another way to describe cold wallets is hardware wallets.
Self-custody wallets/centralized exchanges
These two categories — self-custody and centralized — matter a lot in the world of crypto. Most crypto investors prefer self-custody wallets, for which nobody possesses the password except the user themselves. This way, it’s impossible for any centralized entity to access and freeze your money. Of course, the cons of self-custody wallets is that users must store their secret seed phrase which is used to reset their password when forgotten. If users ever lose their seed phrase, there is no way to access the crypto.
On the opposite end of the spectrum are the “wallets” on centralized exchanges (CEXs). To be clear, storing your crypto on a CEX isn’t exactly putting it in a wallet — more like a temporary account that works very similar to a checking account. As a general rule of thumb, you shouldn’t keep a ton of crypto in a CEX, but rather only what you need to make your buys, swaps, and trades. Once your threshold reaches over a certain amount (this depends on the volume and size of your typical transactions), it’s best practice to transfer your crypto to a self-custody wallet where it will be more secure.
Step 3: Buy and/or download your wallet
In this step, buy and/or download the app, then install the browser extension. If you’re using an external hardware wallet, buy it directly from the supplier, avoiding third-party sites like Amazon where it may have been tampered with.
Step 4: Set up account and security features
Set the password and name for your wallet, and then write down your secret phrase. Keep the secret phrase in a safe location in case you need it to reset your password one day. Remember, if you are using a self-custody wallet you will not be able to ask anyone for help resetting your forgotten password.
Step 5: Deposit cryptocurrency
Now you’re ready to buy cryptocurrency. For compatible wallets, use the Transak integration directly within the wallet (here’s our guide to buying crypto with MetaMask). If Transak is not available in your area or for your wallet, simply on-ramp via CEX, then transfer the crypto to your wallet using the public address.
Check out our guide to crypto on-ramp to learn more, or simply start buying 110+ crypto assets directly to your wallet using Transak by clicking here.